User Guide
-
User Guide for NTTX Advisors
- NetTradeX Advisors Terminal
-
Articles
-
NetTradeX Language: Introduction
- Language Basics
- Language Functions
-
Language System Objects
- Deal Management
- Order Management
- Indicators
- Object-Oriented Programming
-
DLL files
-
Object Account
-
Object Bars
-
Object Chart
-
Object datetime
-
Object History
-
Object file
-
Object Globals
-
Object Math
-
Object Symbols
-
Object System
Terminal NetTradeX Advisors allows flexible changing of visual design of charts, controlling the display of additional window elements and customizing workspaces. These features are based on three main mechanisms:
- Management of color schemes
- Work with Templates
- Management of Workspaces
Here we consider the purpose and principles of each of these mechanisms.
Management of color schemes
To change the visual presentation of charts and create a preferred color scheme NetTradeX Advisors has a mechanism to control color schemes. There are some basic built-in color schemes in the terminal; the user can also change colors of many elements of the chart.
Changing the current color scheme is carried out by using the Chart Colors dialog box. To access this dialog box, click the price chart with the right mouse button and select Chart Colors.
The Chart Colors window general view is shown below:
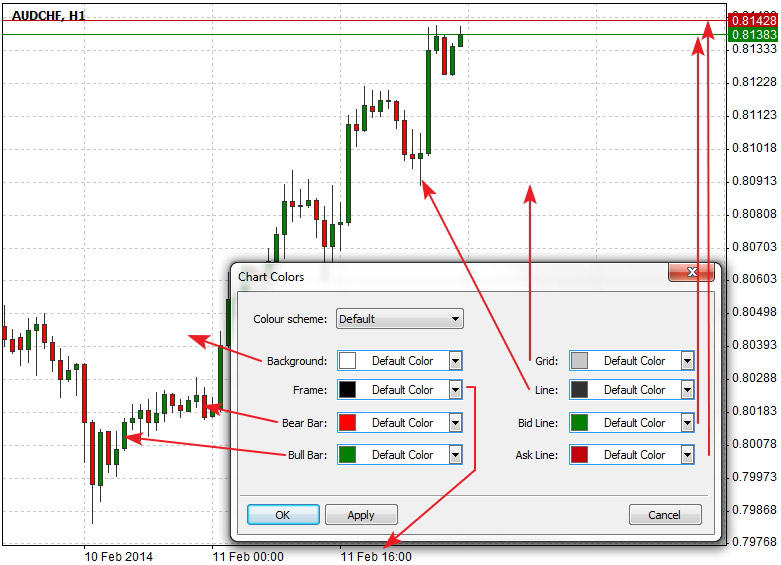
Here we consider the main elements of the window:
- Color scheme - a dropdown list of basic color schemes
- Frame - a dropdown list of frame color setting (sets color of labels on the axes of dates and prices)
- Bear Bar - a dropdown list of changes in color of falling Japanese candlestick
- Bull Bar - a dropdown list of changes in color of growing Japanese Candlestick
- Grid - change in color of the grid
- Line - change in color of the line representing a rate in the Line Chart mode and changing the color of the line that bounds candles
- Bid line - the bid line color
- Ask line - the ask line color
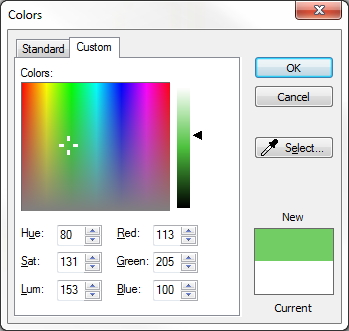
It is possible choose one of the basic colors for the above mentioned elements or to set an arbitrary color by clicking Custom . When you click Custom, the Colors window with two tabs: Standard and Custom is opened. General view of the windows is shown below:
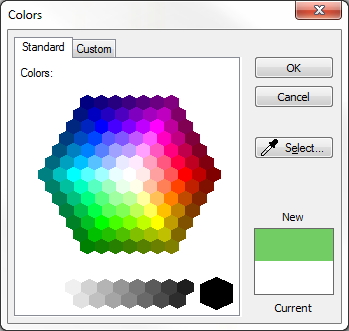
When you click Select , the "eyedropper" tool is activated which allows you to set the same color as the color of any object on the screen.
After selecting the color, click OK in the Colors dialog, then click Apply in the Chart Colors dialog, as a result, the selected color will be used.
 After clicking OK or Apply in the Chart Colors dialog, the latest scheme will be used for all new charts.
Working with Templates
Using templates, the user can save the parameters of the chart window. Use of templates allows quick changing of the view of any chart by several clicks.
Template Management is carried out via context menu of the price chart - the Template entry or the same name main menu sub item - Chart - Template.
Each template has the following elements saved:
- Color scheme
- Chart view (line, bars, Japanese candlesticks)
- Grid display on the chart (On/Off)
- Display the Ask line (On/Off)
To save your settings as a template, click on the chart with the right mouse button and choose Template - Save Template, then specify a name for the new template and click Save.
To apply the template to the current chart, click on the chart with the right mouse button, select Template - Load Template and then specify the template file and click Open. The saved templates are also displayed at the bottom of the Template submenu of the context menu.
To delete a template, click on the chart with the right mouse button, select Template - Delete Template and click on the template that is no longer needed.
Each saved template represents a CHT file. The standard path for templates: username\Documents\NetTradeX Advisors\templates.
Management of Workspaces
Workspaces provide a convenient opportunity of work with a group of charts. Workspaces allow you to save a set of windows that display charts of selected symbols with added indicators. The position of the windows is also kept as well as the chart scale, a timeframe set for each chart and the attached Advisor.
Working with workspaces is carried out via the main menu File - Workspace . Creation, usage and disposal of the workspace are available for the user.
To create a new workspace, click File in the main menu, select Workspace and then click Create . In the next dialog box, enter a name for the workspace and click OK . Afterwards, the user can work in the new workspace.
All changes made for charts will be saved automatically in the current workspace.
To download a previously created workspace click File, select Workspace, and then click the workspace name that you want to continue working with.
To delete a workspace, enter the menu File - Workspace, select the Delete sub item and click on the name of the workspace that you no longer need.
The workspace you are working in cannot be deleted.